ZIP Export an Ionic Project
Every app project in Creator works like a normal Ionic app behind the scenes. Exporting the raw code for your project is easy, and you can then work on it locally with the CLI.
Important
Exporting your project as a ZIP only works one way. There is no way to import a project back into Creator.
Note: you will need the local Ionic CLI installed to be able to work on your project outside of Creator.
1. Export Your ZIP File
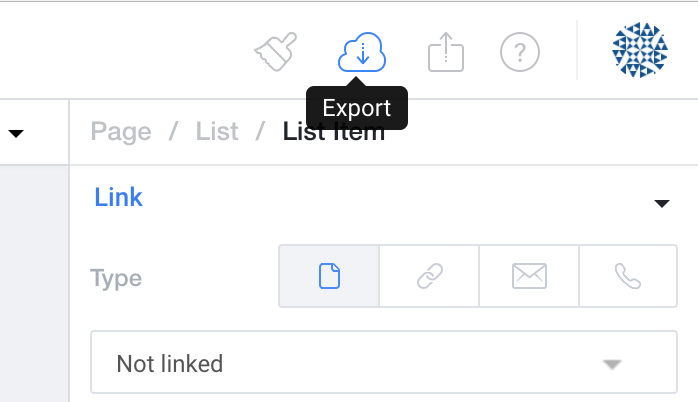
Click on the export icon in the upper right hand corner of Creator to open the Export modal popup.

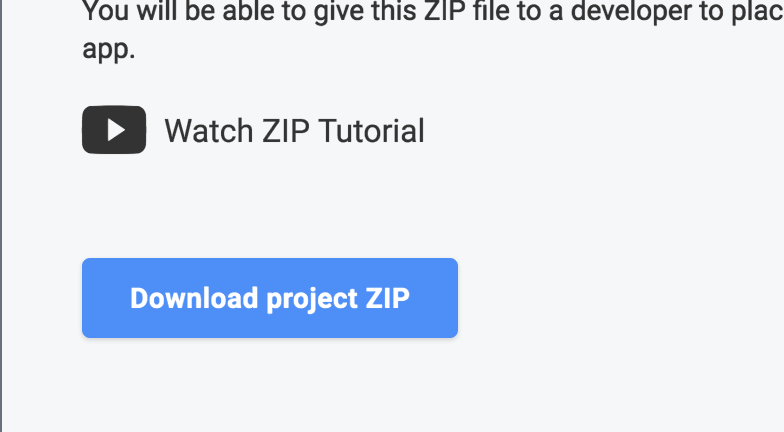
Then, just click the big blue button that says "Download Project ZIP".

Now, unzip the contents. You will be moving these files and folders in the next step.
2a. (Ionic v1) Set Up A Local Ionic Project
Note: If you are working on an Ionic 3.x project, skip to step 2b
Install the latest version of the local Ionic CLI installed by typing the command:
npm install -g ionic@latest
To start a new Ionic project, type the command:
ionic start myapp --type ionic1
Now go into the newly created myapp directory, and you will see directory called www inside.
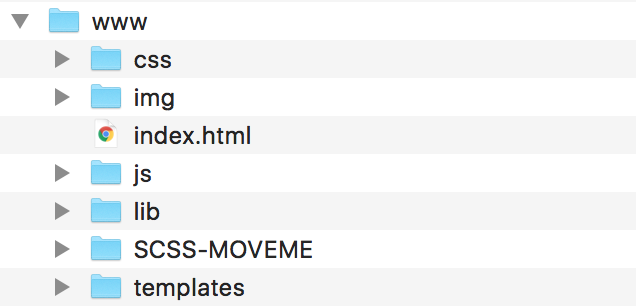
Delete everything inside of the www folder, and move the unzipped files and folders from STEP 1 into the www folder. The directory structure should look like:

Next, move the directory called SCSS-MOVEME up one directory, and rename it to scss. This directory should now sit side-by-side with the www directory.
Now, run the command npm install from directly inside the myapp folder. This will install gulp.js and a few handy tasks, such as gulp-sass and gulp-minify-css.
Finally, in the ionic.config.json file, add the JavaScript property "gulpStartupTasks": ["sass", "watch"].
2b. (Ionic v3.x) Set Up A Local Ionic Project
Only Applies to Ionic v3.x Creator Projects
You can only export to an Ionic v3.x project if you chose Ionic v3.x when creating the project. There is no way to export an Ionic 1 project to Ionic 3.
This step requires you to have the latest version of the local Ionic CLI installed.
To start a new Ionic project, type the command:
ionic start myApp blank --type=ionic-angular
Now go into the newly created myApp directory, and you will see directory called src inside.
Copy and paste the contents from your zip export into the src directory. You will want to overwrite the app directory, pages directory, and index.html
3. [Optional] Install Cordova Plugins (v1 only)
If you are using Cordova plugins in your app, these will need to be installed for your local project. For every Cordova plugin you were using, type the command:
ionic plugin add [cordova-plugin-name]
4. Preview Your App
You have now successfully exported your app, and set it up as a local Ionic project. To preview your app, type the command:
ionic serve
Updated about 7 years ago
